Contents
- 📋 Prerequisites & What You Need
- 🔧 Step 1: Find a Safe Location
- ⚙️ Step 2: Gather Your Tools
- 🎯 Step 3: Loosen the Lug Nuts
- ✅ Step 4: Jack Up the Vehicle
- 🚀 Step 5: Remove the Flat Tire
- ⚠️ Step 6: Mount the Spare Tire
- 🤔 Step 7: Lower the Vehicle & Tighten Lug Nuts
- 💡 Step 8: Final Checks & Next Steps
- ❌ Common Mistakes & How to Avoid Them
- 💰 Cost & Time Breakdown
- 📊 Expected Results & Metrics
- 🌟 Pro Tips & Advanced Techniques
- Frequently Asked Questions
- Related Topics
Overview
Before you even think about touching a wrench, ensure you have the necessary equipment. This includes a functional spare tire (check its pressure regularly!), a jack, and a lug wrench. You'll also need your vehicle's owner's manual, which often contains specific instructions for your make and model regarding jack points and lug nut torque. Safety is paramount, so reflective triangles or flares are highly recommended, especially if you're changing a tire at night or on a busy road. Gloves can keep your hands clean, and a small piece of wood can provide a stable base for the jack on soft ground.
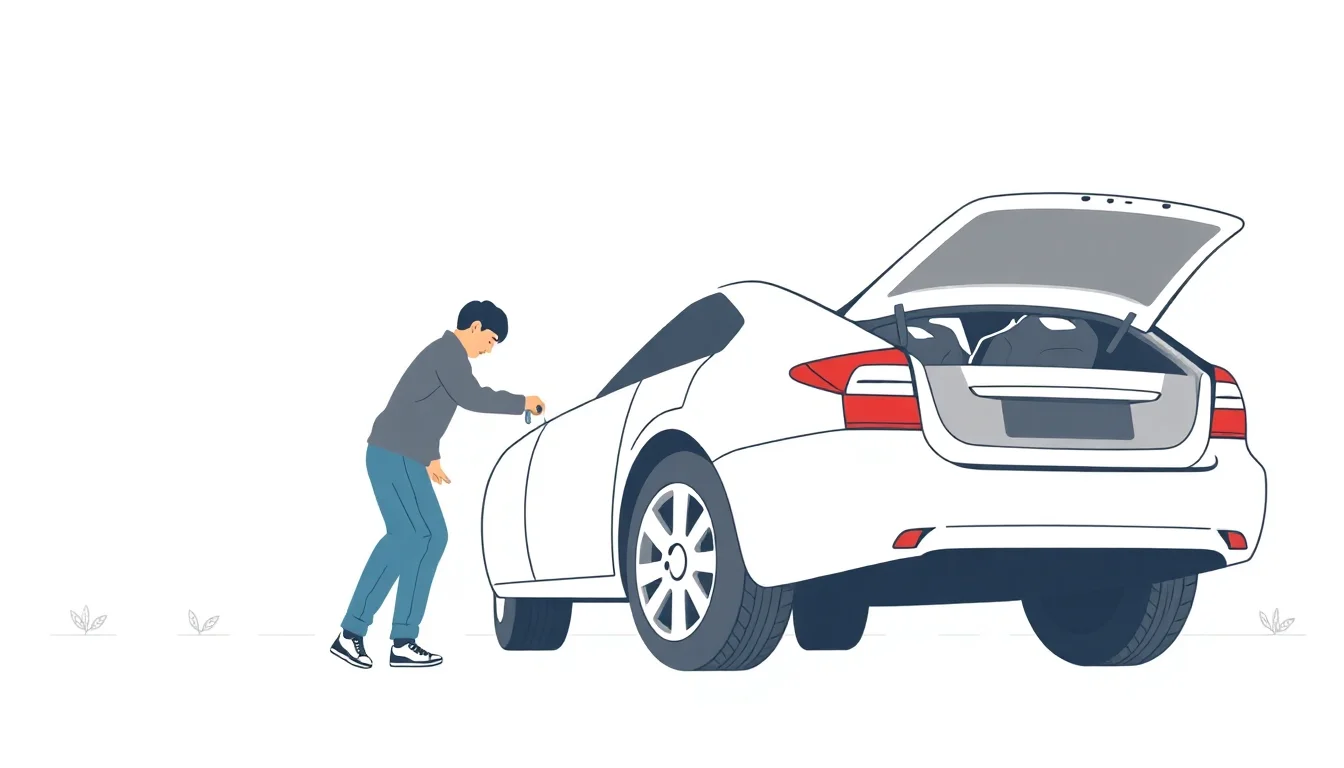
🔧 Step 1: Find a Safe Location
The absolute first priority is safety. As soon as you realize you have a flat, slow down and look for a safe place to pull over. This means getting as far off the road as possible, ideally on a level, firm surface. Avoid soft shoulders, hills, or curves where visibility is poor. Turn on your hazard lights immediately. If you're on a highway, try to reach the next exit or a well-lit rest stop. The goal is to create a buffer zone between your vehicle and passing traffic.
⚙️ Step 2: Gather Your Tools
Once safely situated, locate your spare tire, jack, and lug wrench. These are typically found in the trunk, under the vehicle, or in a side compartment. Consult your owner's manual if you're unsure. Ensure the spare tire is properly inflated; a flat spare is useless. The jack needs to be positioned correctly under the vehicle's frame at the designated jack point, usually a reinforced metal area near the wheel well. Misplacing the jack can cause damage to your car or, worse, lead to the vehicle falling.
🎯 Step 3: Loosen the Lug Nuts
Before lifting the car, use the lug wrench to loosen the lug nuts on the flat tire. Turn them counter-clockwise. They might be very tight, so you may need to use significant force. It's often easier to loosen them while the tire is still on the ground, as the tire's friction with the road will prevent it from spinning. Loosen them only about a half to a full turn – just enough to break them free. Do not remove them completely at this stage.
✅ Step 4: Jack Up the Vehicle
Position the jack under the designated jack point closest to the flat tire. Slowly and steadily operate the jack to raise the vehicle. Ensure the jack remains perpendicular to the ground and the vehicle is stable as it rises. Raise the car high enough so that the flat tire is completely off the ground, with enough clearance to remove it and install the inflated spare. Never place any part of your body under the vehicle while it is supported only by a jack.
🚀 Step 5: Remove the Flat Tire
Now that the tire is off the ground, finish unscrewing the lug nuts by hand. Keep them together in a safe place, like your pocket or a hubcap, so you don't lose them. Grip the flat tire firmly with both hands and pull it straight toward you. It might be heavy. Lay the flat tire on its side under the vehicle's frame, near the jack, as an extra safety precaution in case the jack fails.
⚠️ Step 6: Mount the Spare Tire
Align the spare tire with the wheel studs and push it onto the hub. Replace the lug nuts and tighten them by hand as much as possible, turning them in a star pattern (or criss-cross pattern) to ensure the wheel is seated evenly. This star pattern is crucial for proper mounting. Once hand-tight, use the lug wrench to snug them up further, again following the star pattern. Don't fully tighten them yet; that comes after lowering the car.
🤔 Step 7: Lower the Vehicle & Tighten Lug Nuts
Slowly lower the vehicle by operating the jack in reverse. Once the spare tire is firmly on the ground and supporting the vehicle's weight, remove the jack. Now, use the lug wrench to fully tighten the lug nuts. Apply firm, consistent pressure in the star pattern. Tighten them as much as you reasonably can. It's recommended to re-check the tightness of the lug nuts after driving a short distance, about 50-100 miles, as they can sometimes loosen slightly.
💡 Step 8: Final Checks & Next Steps
After changing the tire, stow the flat tire, jack, and lug wrench securely. Check the air pressure in the spare tire if you haven't already. Drive cautiously to the nearest tire repair shop or service station to have your flat tire repaired or replaced. Don't delay this step, as driving on a temporary spare for too long can be dangerous and damage your vehicle.
❌ Common Mistakes & How to Avoid Them
One common mistake is not checking the spare tire's pressure regularly, leading to a flat spare when you need it most. Another is trying to loosen lug nuts when the car is already jacked up, which can cause instability. Forgetting to put the lug nuts in a safe place is also a frequent error. Over-tightening lug nuts with the jack still engaged can stress the suspension. Finally, driving too fast or too far on a temporary spare can lead to accidents or further damage.
💰 Cost & Time Breakdown
Cost: The primary cost is the potential need to purchase a new tire if the flat is irreparable, which can range from $100 to $300+. If you use roadside assistance, there might be a service fee or membership cost ($50-$150 annually for AAA, for example). Time: Expect this process to take 30-60 minutes. This includes finding a safe spot, gathering tools, jacking the car, changing the tire, and packing up. Driving to a repair shop adds additional time.
📊 Expected Results & Metrics
Expected Results: You will have successfully replaced a flat tire with a functional spare, allowing you to resume driving to a repair facility. Metrics: * Time to Completion: Aim for under 60 minutes. * Safety Compliance: Zero incidents or injuries. * Lug Nut Tightness: Properly torqued (though most DIYers rely on 'as tight as possible' with the wrench). * Spare Tire Condition: Properly inflated and securely mounted.
🌟 Pro Tips & Advanced Techniques
Pro Tips: Always practice changing a tire in your driveway on a sunny day so you're familiar with the process before an emergency. Keep a small mat or piece of cardboard to kneel on. If lug nuts are extremely stubborn, a bit of penetrating oil can help. For vehicles with locking lug nuts, ensure you have the key adapter. Consider investing in a portable air compressor for your trunk to maintain spare tire pressure. If you have a TPMS, be aware that it might need recalibration after installing a spare.
Key Facts
- Year
- N/A (evergreen skill)
- Origin
- Automotive
- Category
- guides
- Type
- concept
- Format
- how-to
Frequently Asked Questions
What if the lug nuts are too tight to loosen?
If the lug nuts are exceptionally tight, ensure you're using the lug wrench correctly and applying steady force. Sometimes, using your foot (carefully!) on the wrench handle can provide more leverage. If they still won't budge, a penetrating lubricant like WD-40 applied to the threads might help, but allow it time to work. In extreme cases, professional help from a mechanic might be necessary, as excessive force could strip the nuts or damage the studs.
How do I know where to place the jack?
Consult your vehicle's owner's manual for the specific jack points. These are typically reinforced areas on the vehicle's frame, often near the wheel well, designed to safely support the weight of the car. Using the wrong jacking point can damage your vehicle or cause the jack to slip.